How to Make Custom Magnets?
If you’re looking to make your own custom magnets, you’ve come to the right place! Whether it’s for your business, personal projects, or as a gift, making your own magnets can be a fun and creative process. In this article, we’ll guide you through the steps to create your own custom magnets, from design to production.
5 Types of Custom Magnets
1. Neodymium magnets:
These are the strongest type of magnets available, and they are often used in applications where a high level of magnetic strength is required. They can be custom-made in a variety of shapes and sizes to fit specific needs.
2. Ceramic magnets:
These magnets are more affordable than neodymium magnets and are suitable for applications where less magnetic strength is required. They are also corrosion-resistant and can be custom-made in various shapes and sizes.
3. Alnico magnets:
These magnets are made of aluminum, nickel, and cobalt, and are known for their high magnetic strength and temperature resistance. They can be custom-made in various shapes and sizes.
4. Samarium cobalt magnets:
These magnets are known for their high magnetic strength and temperature resistance. They are often used in high-performance motors and other industrial applications and can be custom-made in various shapes and sizes.
5. Flexible magnets:
These magnets are made of a rubber or plastic material that is embedded with magnetic particles. They are flexible and can be easily cut to any shape or size, making them ideal for custom applications.
Choose Your Design
The first step in making custom magnets is to decide on the design. This could be anything from a company logo to a personalized message or image. The key is to keep the design simple and visually appealing. Use bright colors and bold fonts to catch the eye.
Choose Your Material
Next, choose the material for your custom magnets. The two most common options are vinyl and flexible magnetic sheets. Vinyl magnets are more durable and can be cut into any shape, while flexible magnetic sheets are more versatile and can be easily cut with scissors.
Print Your Design
Once you have your design and material, it’s time to print your design onto the magnet. You can either print the design yourself using a printer or take it to a local print shop.
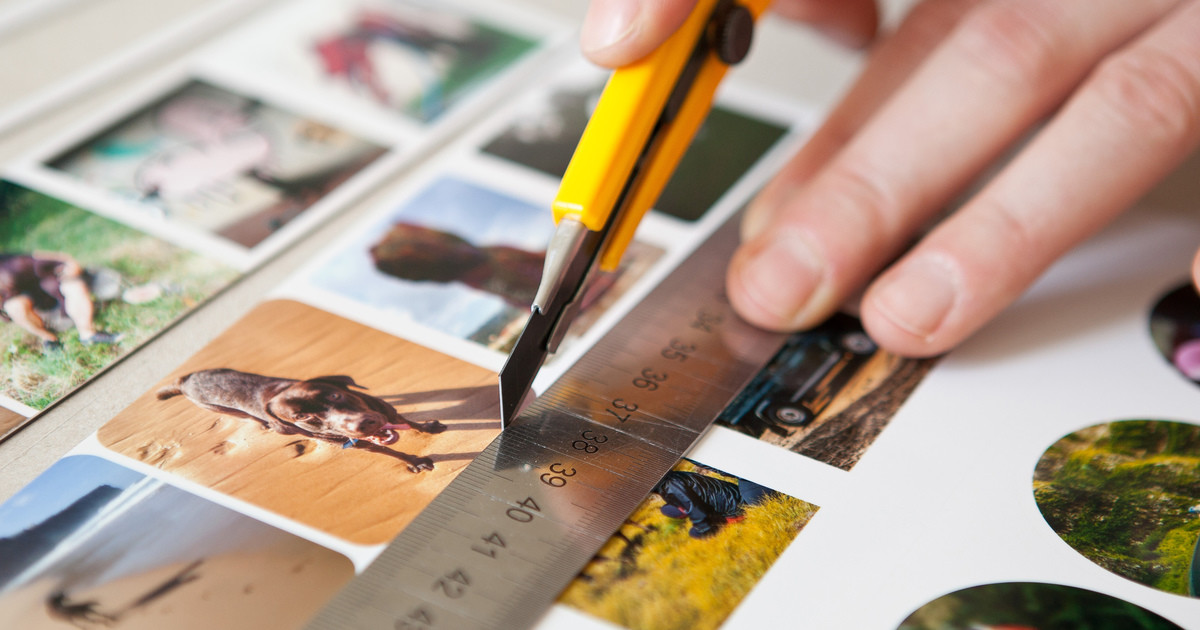
Cut Your Magnets
Now that you have your printed design, it’s time to cut out the magnets. Use scissors or a craft knife to carefully cut around the edges of the design. Be sure to leave a small border around the edges to prevent the magnet from peeling.
Apply the Adhesive
If you’re using vinyl magnets, you’ll need to apply an adhesive to the back of the magnet. There are a variety of adhesive options, but a strong, double-sided tape works well. Simply cut the tape to the size of the magnet and apply it to the back.
Stick It
Now it’s time to stick your custom magnet to its intended surface. Clean the surface with a damp cloth to remove any dirt or debris, then place the magnet in the desired location.
Enjoy Your Custom Magnets
Congratulations, you’ve successfully created your own custom magnets! Now you can enjoy them in your home, office, or anywhere else you like.
In conclusion, creating your own custom magnets is a fun and easy process that can be done in just a few simple steps. By following these guidelines, you can make magnets that are both visually appealing and functional. So, get creative and start making your own custom magnets today!